


A push button build script that does exactly one thing isn’t that useful - we could achieve as much by building from within Visual Studio itself. The benefits of build automation begin to accrue when we start orchestrating multiple steps. Let’s extend the script to automatically run all our unit tests.
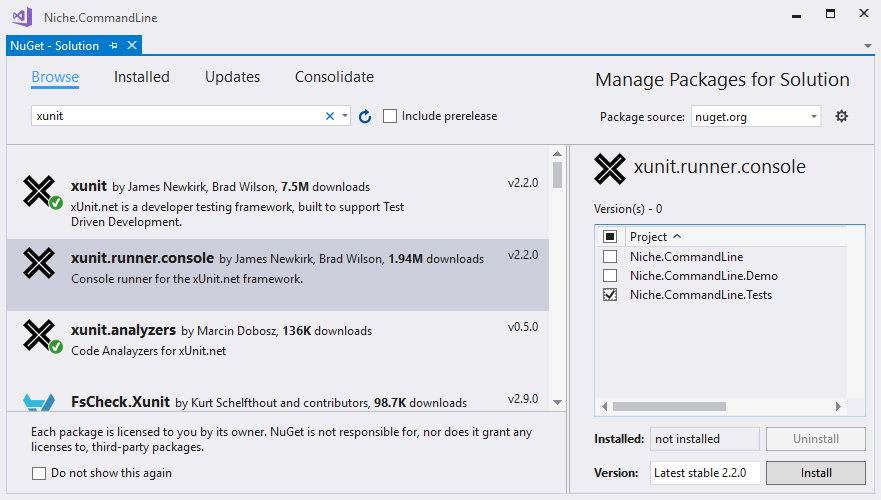
Using NuGet, install the xUnit console we need:
As we’ve already seen, we need to work out how to do something by hand before we can automate it. Looking through the download folder for the NuGet package, we find the application and work out the required command line:
PS> .\packages\xunit.runner.console.2.2.0\tools\xunit.console.exe .\build\Niche.CommandLine.Tests\Debug\Niche.CommandLine.Tests.dll
xUnit.net Console Runner (64-bit .NET 4.0.30319.42000)
  Discovering: Niche.CommandLine.Tests
  Discovered:  Niche.CommandLine.Tests
  Starting:    Niche.CommandLine.Tests
  Finished:    Niche.CommandLine.Tests
=== TEST EXECUTION SUMMARY ===
   Niche.CommandLine.Tests  Total: 161, Errors: 0, Failed: 0, Skipped: 0, Time: 0.728s
PS C:\github\Niche.CommandLineProcessor>
You’ll observe that the required assembly is found underneath the build output directory - I’ve explicitly configured the output folder for each project:

Unfortunately, this is a bit tedious because it has to be done independently for each configuration of each project.
As we did for msbuild, let’s write a task that finds the console when we need it:
Task Requires.XUnitConsole {

    $script:xunitExe =
        resolve-path ".\packages\xunit.runner.console.*\tools\xunit.console.exe"

    if ($xunitExe -eq $null)
    {
        throw "Failed to find XUnit.Console.exe"
    }

    Write-Host "Found XUnit.Console here: $xunitExe"
}
The resolve-path step uses a wildcard for the version number of the package so that it will automatically find whichever version is currently installed. This contributes to the robustness of our build - we don’t want it breaking next time we upgrade the xUnit NuGet packages.
Now we can write a task that runs the unit tests:
Task Unit.Tests -Depends Requires.XUnitConsole, Compile.Assembly {

    exec {
        & $xunitExe .\build\Niche.CommandLine.Tests\Debug\Niche.CommandLine.Tests.dll
            -html .\build\Niche.CommandLine.Tests.html
    }
}
The -Depends option on this task specifies that we need to both compile everything and find the test runner before we can run the tests.
By including the -html option, we get an HTML report that summarizes the results of the test run; this can be a useful artifact to have available from your continuous integration server, easier to read than the raw build output.
From our PowerShell window, we can now run the entire build sequence with one single command:
PS> .\packages\psake.4.6.0\tools\psake.ps1 build.ps1 -Task Unit.Tests
Try this for yourself and you’ll see that Psake runs all of the following build steps:
- Requires.XUnitConsole
- Requires.MSBuild
- Requires.BuildDir
- Compile.Assembly
- Unit.Tests
I hope the power of scripting the build process is starting to become evident. With our build script capturing knowledge about the required steps and their dependencies, running the build is becoming very simple.
Comments
blog comments powered by Disqus