


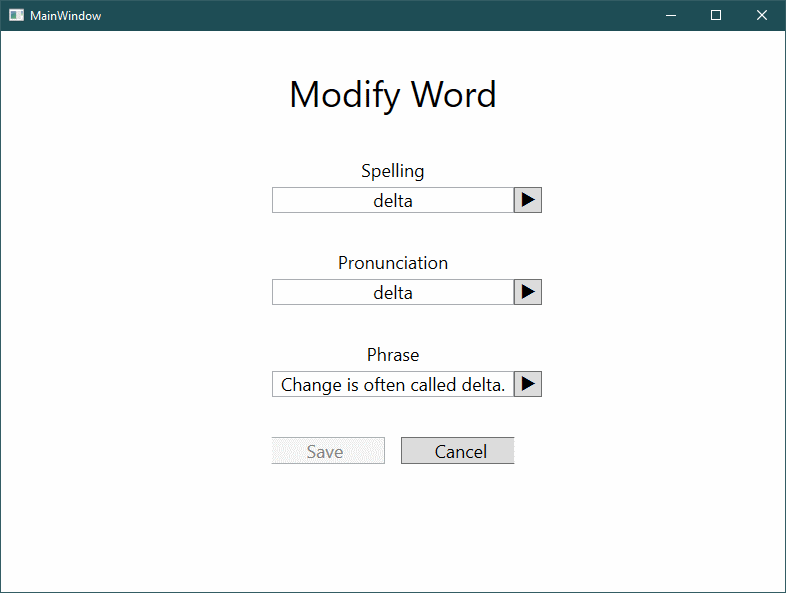
With our speech infrastructure in place, our next step is to hook it up with our existing maintenance screen. This will allow our users to test out pronunciation as they make changes.
We’ll add a play button next to each of the individual fields in our form:
To make room for the buttons on the righthand side of the data entry fields, we add an additional column to our grid just to their right. We want everything to remain nicely centred, so we add another column to their left as well.
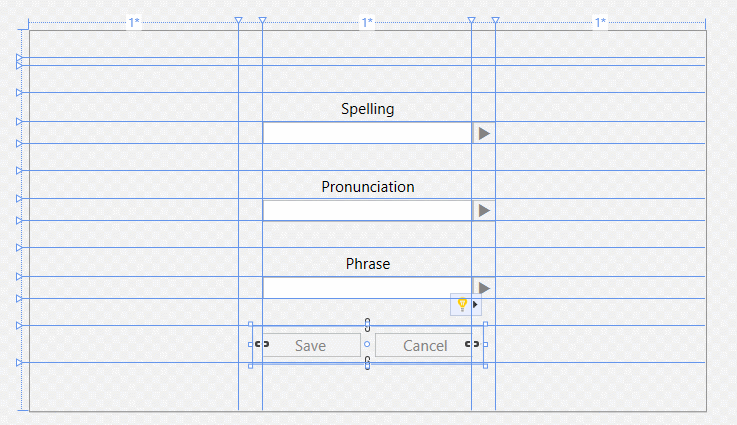
Both new columns must have the same width for our centering to be maintained, so we’ll employ a WPF technique called a shared size scope. We turn this on for the grid, and then use the same scope name for both columns:
<Grid.ColumnDefinitions>
    <ColumnDefinition
        Width="*"/>
    <ColumnDefinition
        Width="Auto"
        SharedSizeGroup="Button"/>
    <ColumnDefinition
        Width="*"
        MinWidth="240"
        MaxWidth="480"/>
    <ColumnDefinition
        Width="Auto"
        SharedSizeGroup="Button"/>
    <ColumnDefinition
        Width="*"/>
</Grid.ColumnDefinitions>
The exact name of the SharedSizeGroup doesn’t matter, just that the two columns use the same one. When the Grid measures up components to work out the sizes of the columns, these two columns will be grouped together and be the same size.
Each of the buttons is configured by using a new command, StartSpeaking. New for these buttons is the use of CommandParameter to pick up information from the view-model to pass into the implementation.
<Button
    Content="u"
    Grid.Row="4"
    Grid.Column="3"
    FontFamily="Wingdings 3"
    Command="desktop:VoiceCommands.StartSpeaking"
    CommandParameter="{Binding Spelling}"
    Padding="5 0"/>
The implementation of these commands follows the pattern we used earlier.
public RoutedCommandSink<string> SpeakCommand { get; }

// From the constructor
SpeakCommand = new RoutedCommandSink<string>(
    VoiceCommands.StartSpeaking, Speak, CanSpeak, this);

public bool CanSpeak(string text)
    => !string.IsNullOrWhiteSpace(text);

public void Speak(string text)
    => _store.Dispatch(new SpeakMessage(text));
The public property SpeakCommand is initialized from our constructor to publish the command. Enabling/disabling the command is handled by CanSpeak() and the actual speech is triggered by Speak().
Unlike our earlier examples, we have a command accepting a parameter, in this case, the text to read aloud. As you’ll appreciate, having a parameter makes the command reusable in different places.
Running the application, I found that the buttons weren’t always updated at the right time. Sometimes the buttons remained disabled even when there was text to say, other times the buttons were available even when there was nothing to say.
Investigating this, I relearnt a lesson about command binding in WPF - sometimes it’s necessary to gently nudge the framework into updating.
Fortunately, our modular architecture means that we only need to apply the fix in one place. In our ViewFactory, we hook into our PropertyChanged, using it to suggest to the WPF command manager that command bindings need to be refreshed.
viewModel.PropertyChanged +=
    (s, a) => CommandManager.InvalidateRequerySuggested();
Unfortunately, this is a global trigger that will affect all commands across the entire application. It would be nice if there was a way to trigger these updates just for the correct view. However, as long as we ensure all our commands have a quick and trivial implementation for evaluating enable/disable, we won’t have a problem.
With these play buttons in place, we can try out the speech synthesis properly. This is a significant milestone - but we have a long way to go.
Comments
blog comments powered by Disqus