There are a lot of benefits to the automation of tedious and/or error prone activities. With suitable preparation, we can dramatically speed things up while reducing the rate of errors considerably. In some cases, we can eliminate errors completely. For all this, it can sometimes be difficult working out where to start.
I’m working on a major update to one of my open source projects - the Niche.CommandLineProcessor library for console applications. As a part of this, I’m going to automate the build process with Psake and I thought it might serve as a useful walkthrough.
Why Psake?
While there are a number of excellent systems - such as TeamCity and recent releases of Visual Studio Team Services - which allow you to orchestrate your build process on a server or in the cloud, such systems share a common weakness.
This weakness is simply the fact that the build happens on a different machine. It’s not always easy or simple to diagnose issues when the build starts failing.
I’m a big proponent of using command line orchestration when setting up build automation, using tools that allow me (or anyone else) to run and troubleshoot the entire build process locally. We can then leverage a build server to run the build process elsewhere, confident that it works locally and that any issues are most likely environmental.
Psake is particularly good for this because it’s built as a thin layer on top of PowerShell. This means that Psake based build scripts have the full power of the scripting language available, putting few (if any) limits on what you can do.
A manual build
Before we can automate the build, we need to be able to run the build manually. Opening a PowerShell window to the root directory of my project, with a bit of experimentation we find that we can run a build using the msbuild command:
PS> msbuild .\Niche.CommandLine.slnThis produces a bit much output on the console (too much for me to quote here), but we can tweak that later. Other than that, it looks to work, so it’s a simple starting point.
Installing Psake
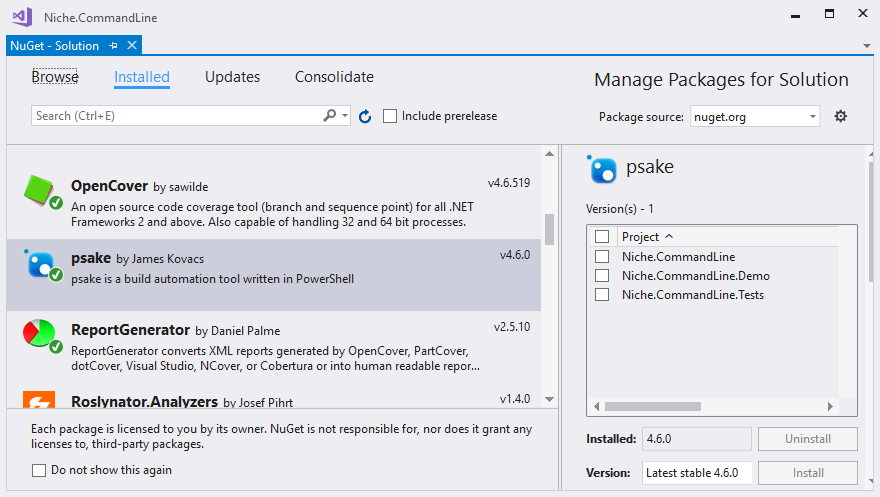
Because I’m working with a .NET project that has been written using Visual Studio, I can install Psake using NuGet.

This has the advantage that NuGet will notify me when a new version of Psake is available.
If you don’t want to use the NuGet package, you can install Psake for global use via chocolatey, from the PowerShell Gallery or by downloading the latest release.
A simple build script
Let’s write a very simple Psake build script, to compile our existing solution, using the same command we used for a manual build earlier.
#
# PSake build script for Niche Commandline library
#

Task Compile.Assembly {
    exec {
        msbuild .\Niche.CommandLine.sln
    }
}
When writing a Psake build script, you declare all the different tasks that make up your build process. When you have multiple tasks, Psake takes care of calling all of the tasks in the right order; for now, we have just the one task.
The exec function wraps a command line with additional logic to fail the build if the program doesn’t complete successfully. Without it, our build would happily go on to the next step of the build even if the compilation failed.
Let’s run that from our PowerShell prompt. We’ll use the script file psake.ps1 that’s included in the NuGet package.
PS> .\packages\psake.4.6.0\tools\psake.ps1 build.ps1 -Task Compile.Assembly
psake version 4.6.0
Copyright (c) 2010-2014 James Kovacs & Contributors

Executing Compile.Assembly
Microsoft (R) Build Engine version 4.7.2531.0
[Microsoft .NET Framework, version 4.0.30319.42000]
Copyright (C) Microsoft Corporation. All rights reserved.

... elided ...

----------------------------------------------------------------------
Build Time Report
----------------------------------------------------------------------
Name             Duration
----             --------
Compile.Assembly 00:00:01.8519412
Total:           00:00:01.8691398
We can see that Psake started up, ran our selected task, and then gave us a summary at the end showing what happened during our build.
Useful, but not yet particularly compelling. Fortunately, we’re only just getting started.


Comments
blog comments powered by Disqus